Macdonald on his
way....
February 3rd, 2008
Nathan Macdonald made the most of two weeks as he
started his quest of building a trailer to house his new car he plans
to build for Modified Production. Opting to build a trailer
first, rather than a car, Macdonald said "If I had a car built I
would want to go racing straight away, but wouldn't have a way of
transporting it".
Nathan has found a
car to transform into a speedway car, a VZ Commodore. The
trailer will need to be fairly big as the VZ has a larger wheel base
and track compared the VS.
Stay tuned to the
website
www.macdonaldracing.com as
Nathan will attempt to upload photos and info as he progresses day
to day for anybody interested.
Day 1
February
4th, 2008
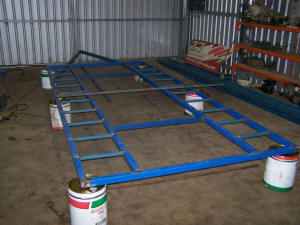
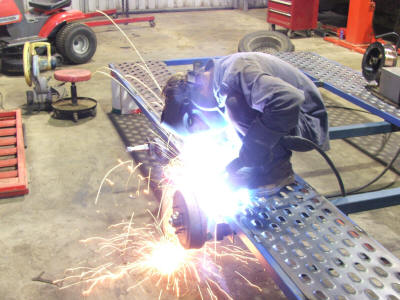
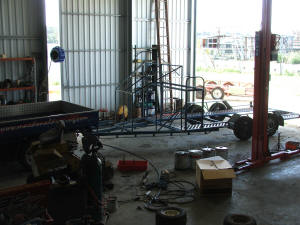
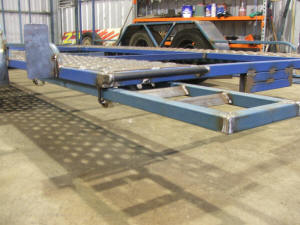
A pretty
constructive day, I got the Chassis all together and support braces,
tyre tracks and A-Fame on and welded, and also figured out the
positioning of the axles as required by Law by QLD Transport.
Tomorrow will involve bracing for the A-Frame, putting the floor on,
and the sides and making ramps.

Day 2
February 5th,
2008
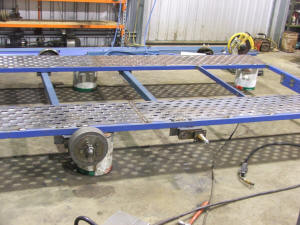
Not as
much done today as I would have liked but, have been doing a lot of
thinking/designing and double checking everything. Both axles
are bolted up and mount brackets on, perforated floor is on and
welded, A-Frame supports are on and I made up the number plate mount
piece. All this whilst battling short power outages and some
more rain! Tomorrow I may need to duck into town (Toowoomba)
and pick up the pre fabricated mudguards and some other items.
Hopefully I will get a start and maybe finish the side rails and
mudguard and also the ramps.
Day 3
February 6th,
2008
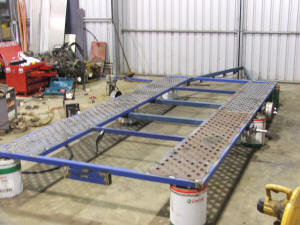
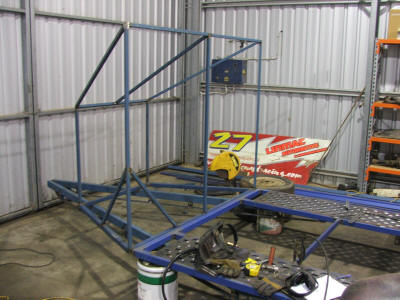
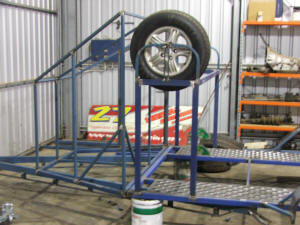
Again not
a great deal done today, the frame for the front section (which will
be enclosed) is together, also worked out dimensions for the tyre
rack so to make it high enough that the tyres wont hit the bonnet of
the car and far enough away from enclosed section. I was
running around getting latches and hinges etc in town for a few
hours also. Tomorrow is another day!
Day 4
February 7th,
2008
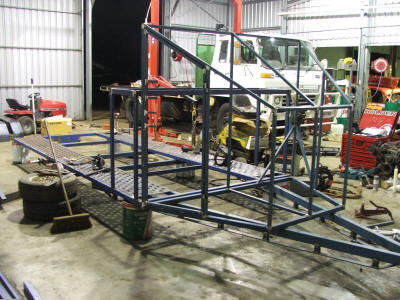
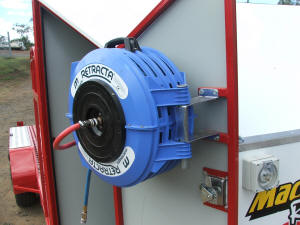
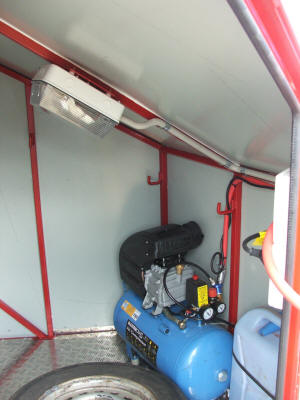
Today I
finished off the frame for the enclosed section at the front, and
the door and lockable latch, I also mounted an air reel . The tyre
rack main frame is also done.
Day 5
February 8th,
2008
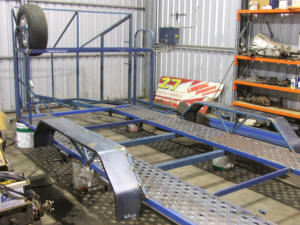
The tyre
rack is completely finished, and I was able to mount the mudguards
and support frame/bracing. It's now starting to look like a
trailer. More work tomorrow, I may start on the ramps, and can
also attach the jockey wheel and hitch.
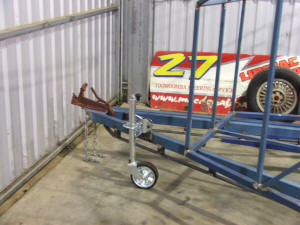
Day 6
February 9th,
2008
The jockey
wheel and hitch have been attached, and I setup the park brake
cable. All the hubs and wheels are on, and I put some side
rails on to neaten it up a bit. The ramps are also made, I
just have to make up some brackets to store them on trailer whilst
driving. I didn't think I would have been this far along after
a week, so far all is going well.
Day 7
February 10th,
2008
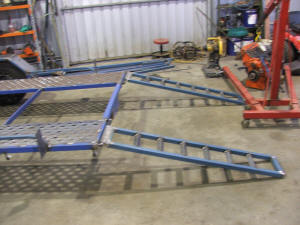
I only
done half a days work today, but I was able to machine up some nylon
rollers for a slide for the ramps. The ramps were fitted in a
way so that they wont rattle when locked into position, and are
easily removed by one R-clip. The trailer would be ready to be
painted but I want too add a few extra items, like folding up a tool
box to mount between the two axles, and fit an auxiliary air tank
also too plumb up to the air compressor.
Day 8
February 11th,
2008
The
trailer is off to the powder coaters on Wednesday, but I wont see it
back until next week sometime unfortunately due to the work load of
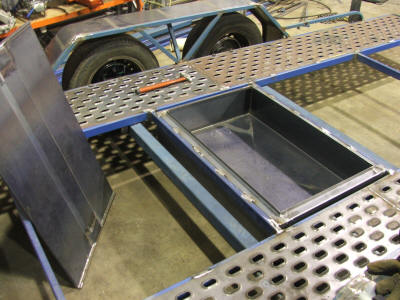
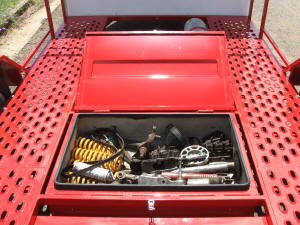
the powder coaters. I made up a storage box that fitted
between the two axles which will come in handy for storing spares,
and at the same time keeping the weight in the middle of the
trailer. I also mounted plates for light and power switches
etc in the enclosed section. Tomorrow I have to mount the
hinges for the lid on storage box, and find an air tank to mount on
the trailer also, and clean up all sharp edges ready for the powder
coaters.
Day 9
February 12th,
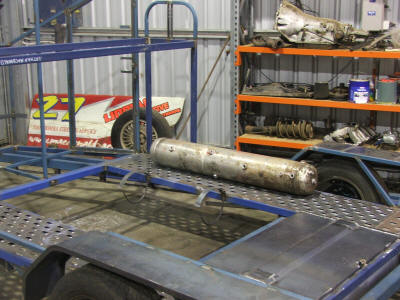
2008After
mounting the storage box lid and hinges, and making straps to mount
the auxiliary air tank, and some finishing touches, the trailer is
ready to be transported to the powder coaters and which will happen
tomorrow.
February 28th,
2008I finally
got the trailer back from the powder coaters on Friday 22nd February
after some delays on their part. As of today most of the
lights and brakes are wired up, and its just a matter of piecing
everything back together. I will have more photos as things
progress.

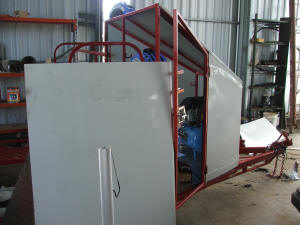
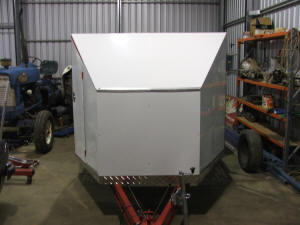
March 6th,
2008The
sheeting is all done for the enclosed section, the trailer will be
registered tomorrow and will hopefully be used for the first time
this weekend towing Shane's car.
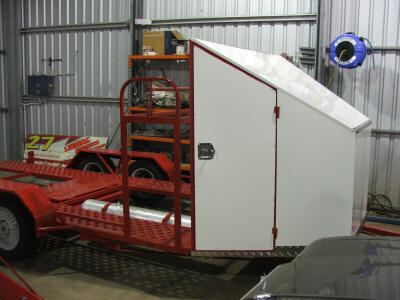
March 28th,
2008
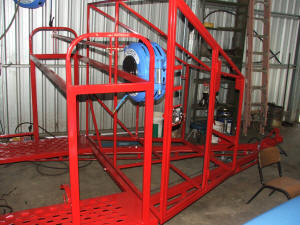
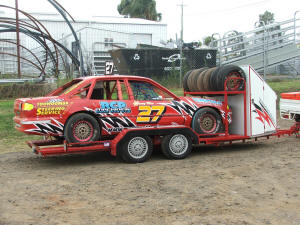
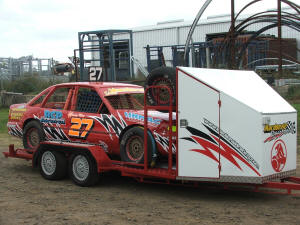
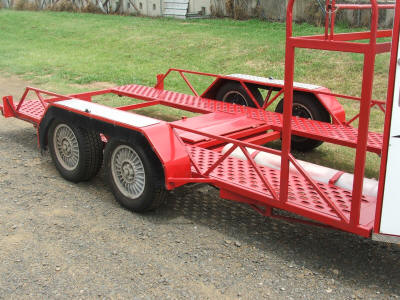
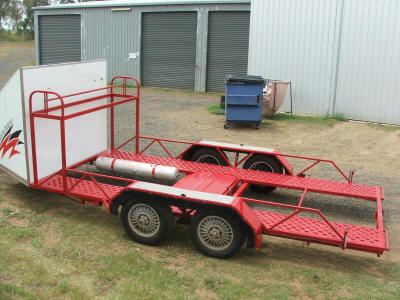
Finally the trailer
is completely finished and I can now concentrate on building the new
VZ Commodore for Modified Production. Here are some pictures
of the final product. The trailer is also wired up to plug in
an external 240 volt lead with a light connected up inside as well
as the air compressor and a power point.
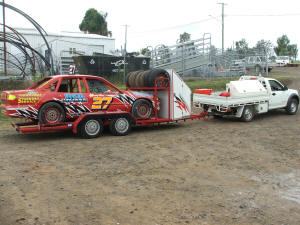
January 4th,
2009
After a few hundred
kilometres the trailer tows really well and is very stable.
The enclosed section has proven very handy as well. While
trying to save on weight I have found a weakness in the design which
has resulted in the chassis flexing too much! It was no big
drama but I have just added some reinforcing bars or a rail along
the side of the trailer inline with the inside of the mudguard.
|